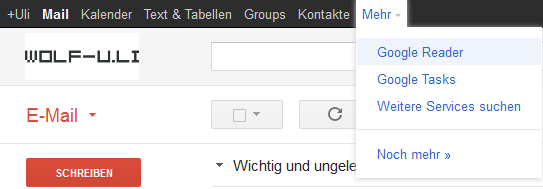
Ich bin ein intensiver Nutzer des Angebots von Google Apps, welches mir meinen Mailservice unter meiner Domain bereitstellt. Dazu habe ich jedoch auch alle anderen Dienste unter meinem Apps-Account zusammengestellt. Ab und an fehlt mir aber oben in der Universal Navigation Bar am oberen Bildschirmrand ein Link, welche mich direkt zu beispielsweise dem Google Tasks-Fenster führt. Daher der folgende Artikel, welcher beschreibt wie man das in der eigenen Domain machen kann. Dies sieht dann beispielsweise so aus (ich habe Google Reader & Google Tasks hinzugefügt):

Kurz zum Ablauf:
- Applikations-Vendor bei Google Enterprice Marketplace werden
- Applikation eintragen
- Applikation zu Apps-Domain hinzufügen
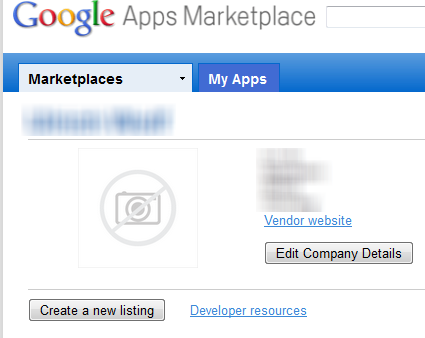
Zunächst geht man auf den Enterprice Marketplace und klickt oben rechts auf “Become a vendor”. Anschließend folgt eine Erklärung, welche man in Ruhe studieren sollte. Derzeit (22.11.2011) kann man kostenlos ein Vendor werden. Wir werden unsere App nicht veröffentlichen, sondern per “Preview” in die Domain hinzufügen. Dies hat zur Folge, dass wir weder Transaction Fees (wie bei veröffentlichten Bezahl-Applikationen) noch Listing Fees (wie bei veröffentlichten Free/Bezahl-Applikationen) bezahlen müssen.
Anschließend klickt man auf “Create a new listing”:
Die Applikationseinstellungen zeige ich im folgenden am Beispiel von Google Tasks, das Application Manifest zeige ich unten separat:
- Haken bei “My product may be directly installed into Google Apps domains” rein
- Category: Eine auswählen, nicht relevant. Ich habe mich für “Google Apps: Productivity” entschieden
- Name, Summary Overview & Full Overview: Google Tasks Link
- Listing Manifest: Leer lassen
- Pricing Summary: Free of Charge - Non-Refundable
- Terms of Service:
- Dies ist eine Applikation zur Erstellung eines One-Bar Links in Google Apps. Wurde mit der Anleitung von https://wolf-u.li/4388 erstellt
Application Manifest:
| |
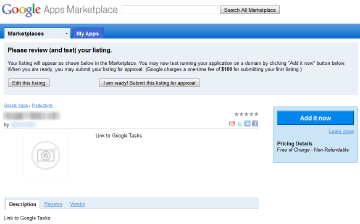
Jetzt auf “Save and Preview” klicken. Jetzt kommt man zu einer übersicht, wo oben rechts “Add it now” klicken kann.
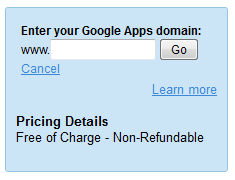
Nach einem klick darauf folgt die Eingabe der Apps domain. In das Eingabefeld einfach den Domainnamen eintragen und auf OK klicken. Hier sieht man übrigens gerade die “Pricing Summary” :)

Jetzt muss man sich evtl. als Administrator der Apps-Domain authentifizieren und bekommt anschließend ein Fenster angezeigt, wo man zustimmen muss, dass die Applikation hinzugefügt wird. Hier klickt man auf “I agree. Continue.” und nach ein paar Minuten erscheint bei allen Domainnutzern oben in der Navigationsleiste der neue Link.
Das wars :) Wer weiterlesen will, was man mit den Apps alles machen kann, kann dies hier tun.
Hier noch ein Application Manifest für den Link zu Google Reader:
| |
Danke an Jesse Middleton (Link mittlerweile nicht mehr verfügbar) für die Hinweise und das erste Application Manifest
